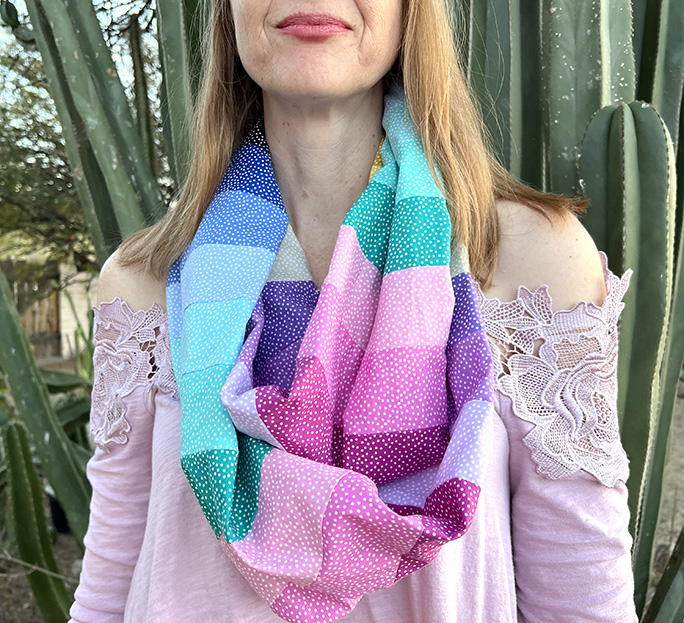
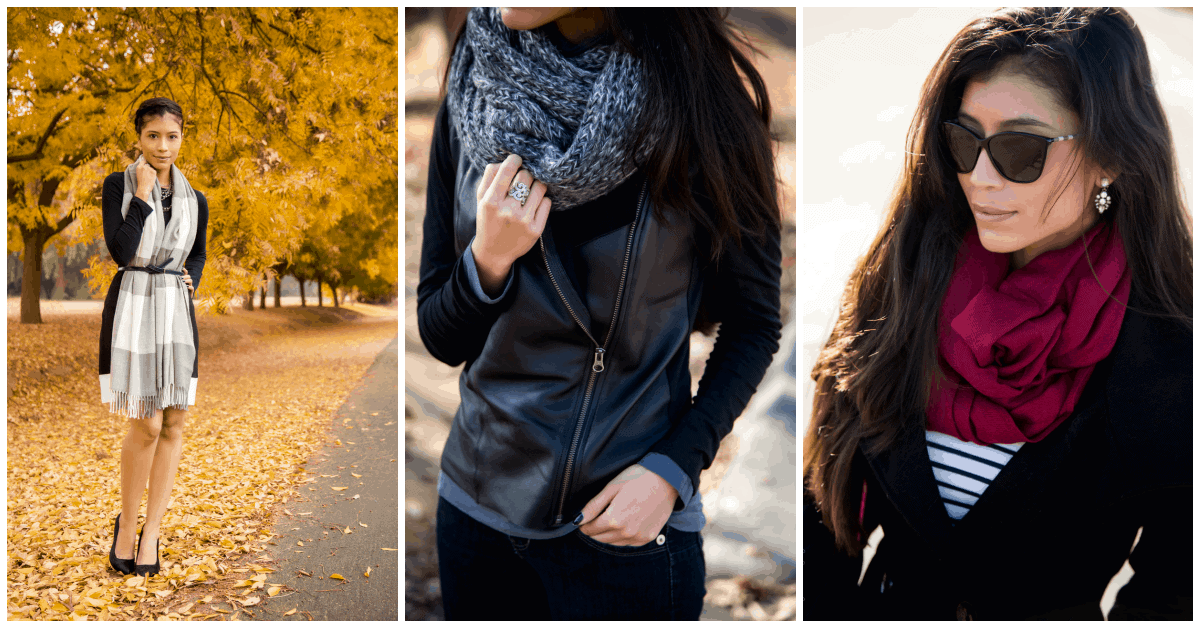
In a world obsessed with fast fashion and fleeting trends, there is something deeply satisfying about creating your own wardrobe staples. Scarves, in particular, offer endless possibilities for creativity and self-expression. Whether you’re a seasoned DIY enthusiast or a complete novice, these easy scarf projects are sure to add a touch of personal flair to your style. So grab your knitting needles, sewing machine, or simply a pair of scissors, and let’s get crafting!

Choosing the Right Materials for Your DIY Scarf Project
When embarking on a DIY scarf project, it’s essential to choose the right materials to ensure your finished product is both stylish and functional. The materials you select will determine the overall look and feel of your scarf, so it’s important to consider factors such as texture, weight, and drape.
Here are some popular materials to consider for your DIY scarf project:
- Silk: Known for its luxurious feel and beautiful drape, silk is a popular choice for creating elegant and lightweight scarves.
- Wool: Perfect for keeping you warm and cozy, wool is a classic material for winter scarves. Consider using a soft merino wool for a comfortable and itch-free scarf.
- Cotton: Lightweight and breathable, cotton is an excellent choice for creating scarves that can be worn year-round. Look for organic cotton for a more sustainable option.
- Acrylic: A budget-friendly option that comes in a wide range of colors and textures, acrylic is a versatile choice for beginner knitters or crocheters.
Consider experimenting with different materials to create scarves that suit your personal style and the season. Mixing and matching materials can also add visual interest to your DIY scarf projects, making them truly unique and one-of-a-kind.
Step-by-Step Instructions for Beginner-Friendly Scarf Designs
Looking to add a personal touch to your outfits this season? Why not try your hand at creating your own unique scarves with these beginner-friendly DIY projects! With just a few simple materials and some creativity, you can create stylish scarves that are sure to turn heads.
Materials You’ll Need:
- Scarf base (plain fabric or an old scarf to refurbish)
- Fabric glue
- Assorted trims (sequins, pom-poms, lace, etc.)
- Scissors
- Optional: sewing kit
Once you’ve gathered your materials, it’s time to get started on your DIY scarf projects. Whether you want to add a touch of glam with sequins or a boho vibe with fringe, the possibilities are endless. Follow these step-by-step instructions to create your own one-of-a-kind scarves!
Instructions:
- Pick Your Base: Choose a scarf base to work with, whether it’s a plain fabric or an old scarf that needs a makeover.
- Add Trims: Get creative with your trims and add them to your scarf base using fabric glue. You can create patterns, stripes, or go for a scattered look.
- Let It Dry: Allow your DIY scarf to dry completely before wearing or gifting to ensure the trims stay in place.
- Rock Your Scarf: Once your scarf is dry, it’s time to show off your handiwork and enjoy the compliments!
Creative Ways to Personalize Your Handmade Scarf
Looking to add a personal touch to your handmade scarf? There are so many creative ways to make your scarf truly one-of-a-kind! From adding unique embellishments to experimenting with different techniques, the possibilities are endless. Here are some fun and easy DIY scarf projects to help you personalize your scarf:
- Embroider a design: Add a pop of color and texture to your scarf by embroidering a design onto it. Whether you choose to stitch a simple pattern or a detailed motif, embroidery is a great way to showcase your creativity.
- Add fringe: Give your scarf a bohemian flair by adding fringe to the ends. You can use yarn, ribbon, or even beads to create a playful and stylish fringe that will make your scarf stand out.
- Dye or paint it: Transform your plain scarf into a work of art by dyeing or painting it. Experiment with different colors and techniques to create a unique and eye-catching design that reflects your personal style.
With a little creativity and some simple supplies, you can easily personalize your handmade scarf and make it a true reflection of your individuality. So why not give these DIY projects a try and show off your crafting skills?
Tips for Adding Fringe, Tassels, and Other Embellishments to Your Scarf
Want to take your scarf game to the next level? Adding fringe, tassels, and other embellishments is a great way to personalize your scarf and make a style statement. Here are some tips to help you get started on your DIY scarf projects:
- Choose the Right Material: When adding fringe or tassels to your scarf, make sure to use a material that complements the fabric of your scarf. For example, if your scarf is made of a lightweight material like chiffon, opt for delicate fringe or tassels to match.
- Measure Carefully: Before cutting your fringe or tassels, measure the length you want carefully. It’s better to start longer and trim later, rather than cutting too short at the beginning.
- Experiment with Colors: Don’t be afraid to mix and match colors when adding embellishments to your scarf. Consider using contrasting colors for a bold look, or stick to complementary colors for a more subtle touch.
By following these tips, you’ll be able to add fringe, tassels, and other embellishments to your scarf with ease. Get creative and have fun with your DIY scarf projects!
Whether you’re looking to revamp your wardrobe or just want to keep warm in style, these easy DIY scarf projects are the perfect way to unleash your creativity. With endless possibilities and simple techniques, you’ll be able to craft unique scarves that are sure to make a statement. So grab your yarn and needles, and get ready to create something truly special! Don’t forget to share your creations with us and inspire others to get crafting. Happy scarf making!


