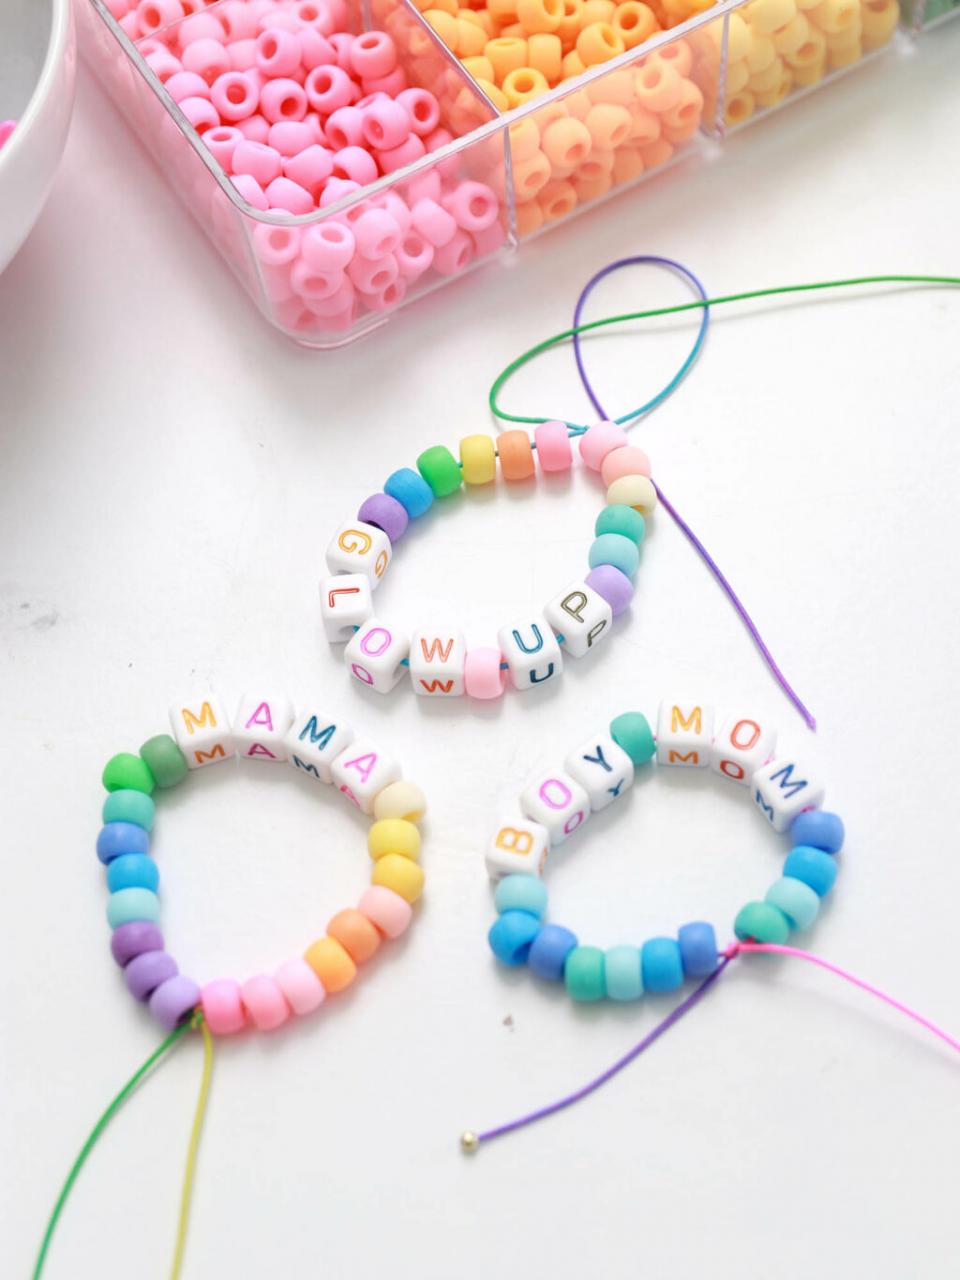
Beaded bracelets have been a timeless fashion accessory that adds a touch of personality and charm to any outfit. In this step-by-step guide, we will show you how to create your own stunning DIY beaded bracelets that are sure to become a staple in your jewelry collection. Whether you’re a beginner or an experienced crafter, this tutorial will help you unleash your creativity and design unique pieces that reflect your personal style. So gather your beads and tools, and let’s get started on this exciting beading adventure!

Materials Needed for DIY Beaded Bracelets
To create your own beautiful DIY beaded bracelets, you will need a few essential materials. Here is a list of everything you will need to get started:
- A variety of beads in different shapes, sizes, and colors
- Stretchy cord or jewelry wire
- Clasps or closures
- Scissors
- Needle-nose pliers
- Optional: charms or pendants to add a personalized touch
Once you have gathered all of your materials, you can begin the process of creating your unique beaded bracelets. Mix and match your beads to create a pattern that speaks to your personal style. Use the stretchy cord or jewelry wire to string the beads together, securing the ends with clasps or closures. Trim any excess cord with scissors and use needle-nose pliers to attach any charms or pendants as desired. With these simple steps, you will have a stunning beaded bracelet to add to your jewelry collection.
Choosing the Right Beads for Your Bracelet Design
When it comes to creating your own beaded bracelet, selecting the right beads is essential to achieving the perfect design. With a wide variety of beading options available, it can be overwhelming to choose the best ones for your project. To make the process easier, consider the following factors when selecting beads for your bracelet design:
- Color: Choose beads that complement each other and align with the color scheme you have in mind for your bracelet. You can opt for a monochromatic look with beads of the same color or mix and match complementary shades for a more vibrant design.
- Size: Beads come in various sizes, so it’s important to consider the scale of your bracelet design. Larger beads can make a bold statement, while smaller beads are perfect for creating more delicate and intricate designs.
- Material: Select beads made from materials that suit your personal style and the overall aesthetic you’re aiming for. Whether you prefer the timeless elegance of glass beads, the rustic charm of wooden beads, or the luxurious sparkle of crystal beads, the material choice can greatly impact the look of your bracelet.
Experiment with different combinations of color, size, and material to create a unique and eye-catching bracelet design that reflects your personal taste and creativity. By carefully choosing the right beads for your project, you’ll be well on your way to crafting a stunning piece of jewelry that you can proudly wear or give as a thoughtful gift.
Step-by-Step Instructions for Making Your Own Beaded Bracelet
To start making your own beaded bracelet, gather all the necessary materials. You will need beads of your choice, elastic cord, scissors, and a ruler. Make sure the beads have holes big enough to fit the elastic cord through.
Next, measure the length of elastic cord needed for your bracelet. Wrap the cord around your wrist and add an extra inch for tying a knot. Cut the cord to size using the scissors.
Now, it’s time to string the beads onto the elastic cord. Choose a pattern or simply string the beads randomly. Make sure to leave a small amount of cord at the end to tie a secure knot. Once all the beads are on the cord, tie a double knot to hold them in place.
Finally, trim any excess cord and your beaded bracelet is ready to wear. Feel free to experiment with different bead sizes, colors, and patterns to create a unique piece of jewelry that reflects your personal style. Enjoy your new DIY beaded bracelet!
Tips for Adding Personalized Touches to Your Bracelet
To make your beaded bracelets truly unique, consider adding personalized touches that reflect your individual style and personality. One way to do this is by incorporating initials or names into your bracelet design. You can use letter beads to spell out a name, initials, or a meaningful word that holds special significance to you. This simple addition can turn a generic bracelet into a personalized accessory that is one-of-a-kind.
Another way to add a personal touch to your beaded bracelets is by selecting beads in colors that hold special meaning to you. Think about your favorite colors, birthstones, or colors that are associated with positive emotions or memories. By choosing beads in these specific hues, you can create a bracelet that not only looks beautiful but also holds sentimental value. Mixing in different textures and finishes can also add depth and interest to your bracelet.
In addition to beads, you can also personalize your bracelet with charms, pendants, or other embellishments that have personal significance. Consider adding a charm that represents a hobby, interest, or milestone in your life. You can also mix in different materials such as metal accents, leather cords, or special clasps to elevate the look of your bracelet. Don’t be afraid to experiment and get creative with your design choices to make a bracelet that is truly your own. As you finish crafting your beautiful DIY beaded bracelets, you’ll not only have a stunning accessory to wear but also a sense of accomplishment and pride in your handiwork. With just a few simple materials and some creativity, you can create unique pieces that truly reflect your personal style. So, go ahead and dive into the world of beading, experiment with different colors and patterns, and let your imagination run wild. Happy beading!
